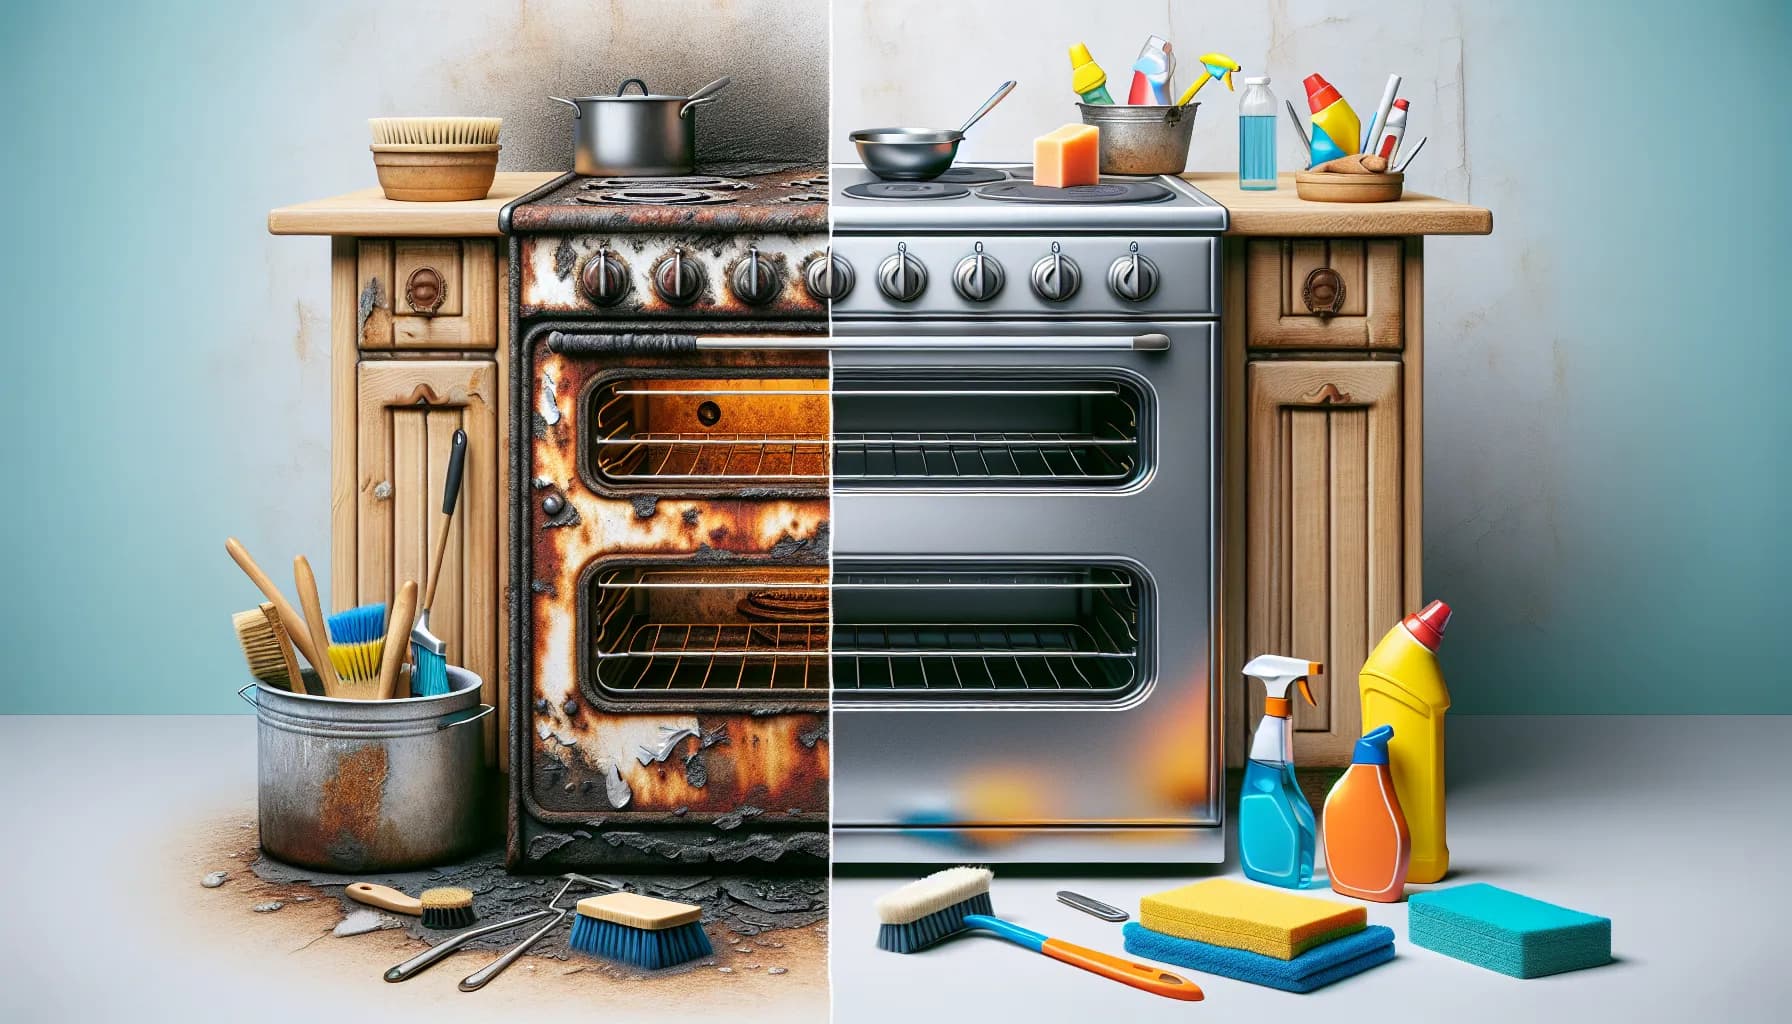
Oven restoration is more than just a home improvement project; it is a step towards preserving history, promoting sustainability, and saving money. Old ovens are historical treasures that embody the craftsmanship and aesthetic of the past. Restoring them not only preserves these unique characteristics but also enhances your home décor with a vintage touch.
Furthermore, restoration is a more sustainable option than replacement. Manufacturing new ovens involves significant energy consumption and CO2 emissions. By restoring old ovens, you contribute to reducing environmental impact. Moreover, it’s an economical choice. Restoration costs are typically lower than the price of a new high-quality oven.
Lastly, there’s a unique satisfaction in bringing an old appliance back to life. It’s a rewarding DIY project where you can witness the transformation of a rusty, aged oven into a fully functional, gleaming appliance.
Identifying the Type of Your Old Oven
Before you can start restoring an old oven, it’s crucial to identify its type and model. The type of oven determines the restoration process and the tools required. There are mainly three types of ovens - gas, electric, and wood-fired.
To identify the type of your oven, look for any labels or manufacturer’s stamps that might be present. These can typically be found on the back or inside the oven door. The model number can provide valuable information about the oven’s age and original parts. If labels are missing or unreadable, you might need to do some research based on its design and features.
Gathering Necessary Restoration Tools
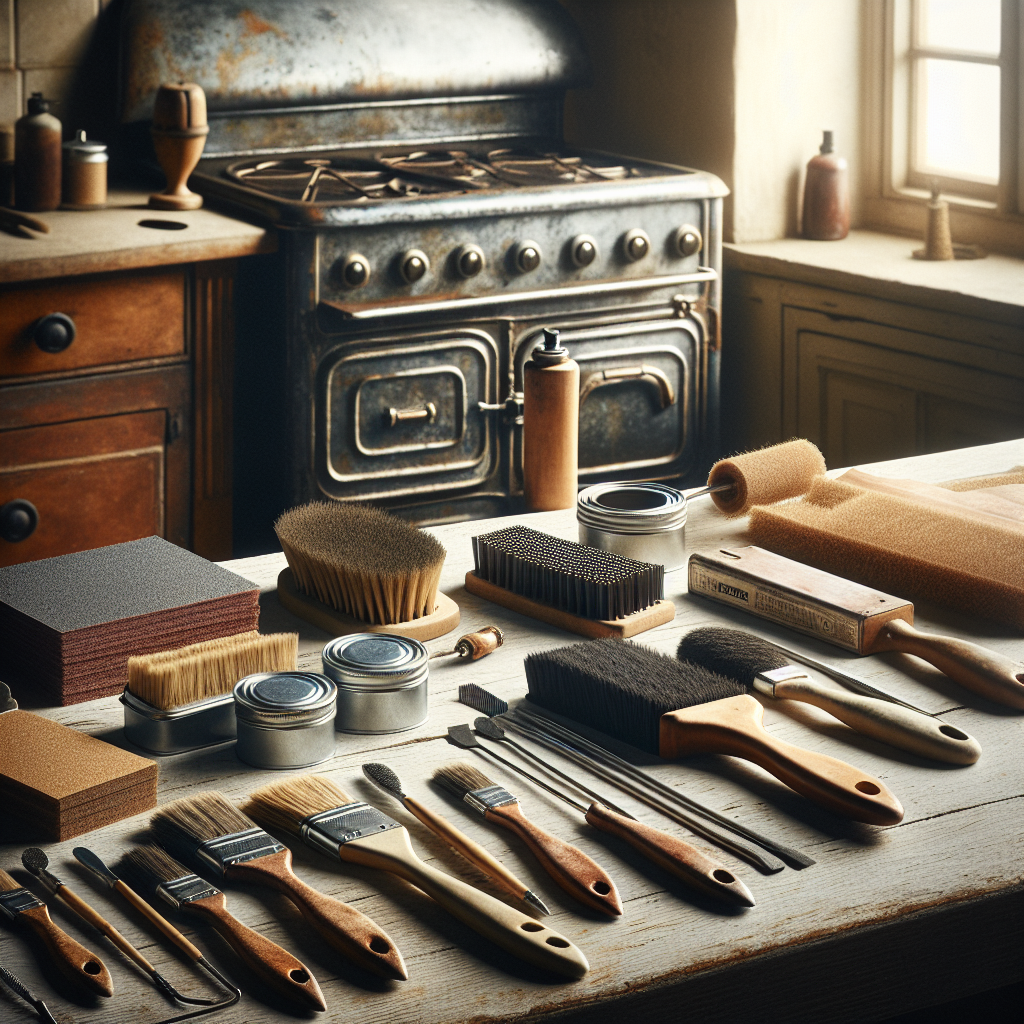
Restoration of an old oven requires specific tools and supplies. The basic toolkit includes wire brushes, sandpaper, paint, and replacement parts.
Wire brushes and sandpaper are essential for cleaning and removing rust. The type of paint you need will depend on the oven’s material and color. Replacement parts, if required, can be sourced from specialized stores or online.
When choosing your tools, consider their quality and compatibility with your oven. High-quality tools ensure efficient work and a better result. Also, remember to source replacement parts that match your oven’s model to ensure proper functioning.
Safety Precautions Before Starting the Restoration
Working with old appliances requires strict safety measures. Always disconnect the oven from the power source before starting work to prevent electric shocks.
You should also wear protective equipment such as gloves, goggles, and masks. Gloves protect your hands from sharp edges and chemicals, goggles shield your eyes from dust and debris, and masks prevent inhalation of harmful particles.
While working, ensure you’re in a well-ventilated area to avoid inhaling fumes from paint or rust removers. Remember, safety always comes first when undertaking a restoration project.
Cleaning and Assessing the Oven’s Condition
The first step in the restoration process is to clean the oven thoroughly. Remove grime and grease using a mixture of warm water and dish soap. For stubborn stains, baking soda and vinegar can be used.
Once the oven is clean, assess its condition. Look out for common problems such as rust, broken parts, or wiring issues. Take note of these issues as they will determine the next steps in your restoration project.
Dealing with Rust and Chipped Paint
Rust and chipped paint are common issues in old ovens. Rust can be removed using a wire brush or sandpaper. For severe rust, you might need to use a rust remover. Remember to wear gloves and a mask when using these products.
Once the rust is removed, deal with chipped paint. Sand the area gently to remove loose paint and create a smooth surface for repainting. Use high-temperature paint suitable for ovens. Allow the paint to dry thoroughly before moving on to the next step.
Replacing Broken or Worn Out Parts
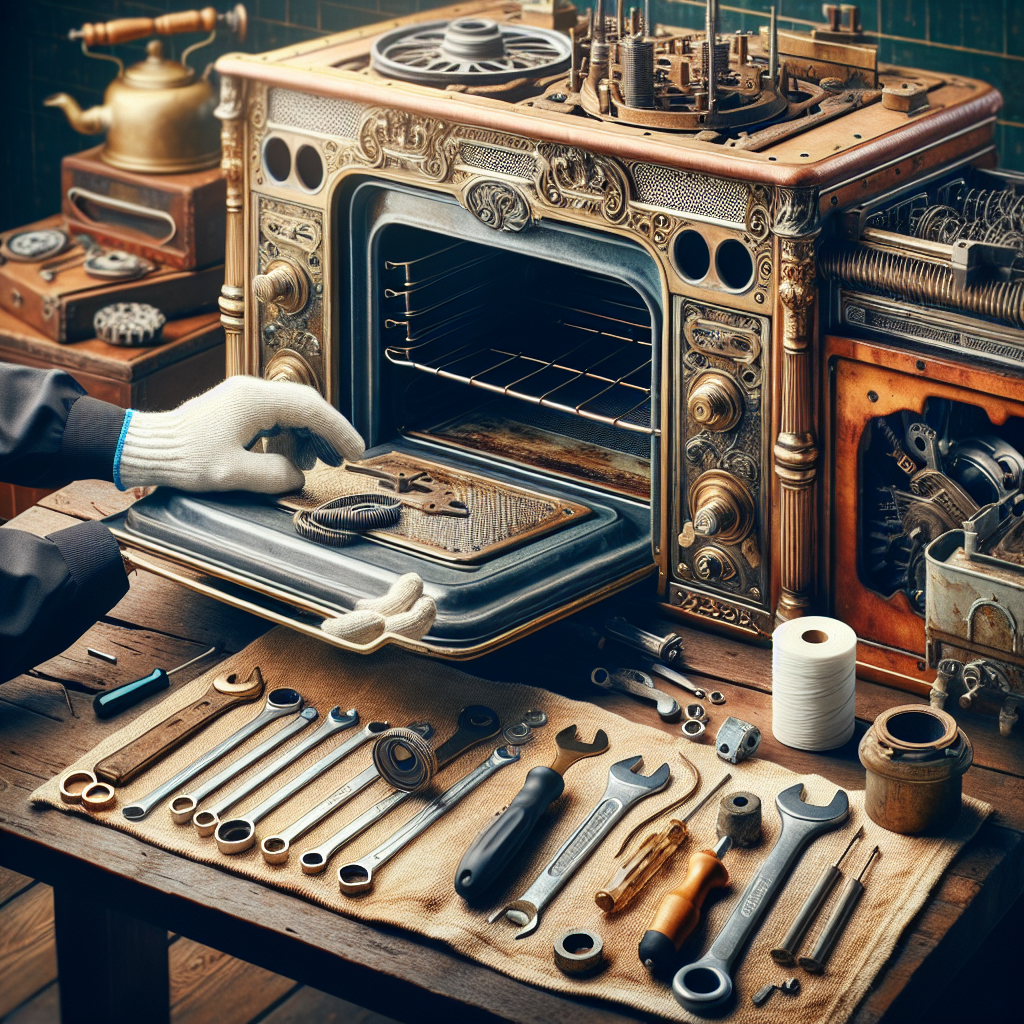
If your oven has broken or worn out parts, these will need to be replaced. Identify these parts and source replacements from a reliable supplier. It’s important to use parts that are compatible with your oven model to ensure proper functioning.
Installing new parts can be tricky, so you might need to refer to the oven’s manual or seek help from a professional. Make sure the parts are securely fitted and check all connections before reassembling the oven.
Reassembling and Testing the Oven
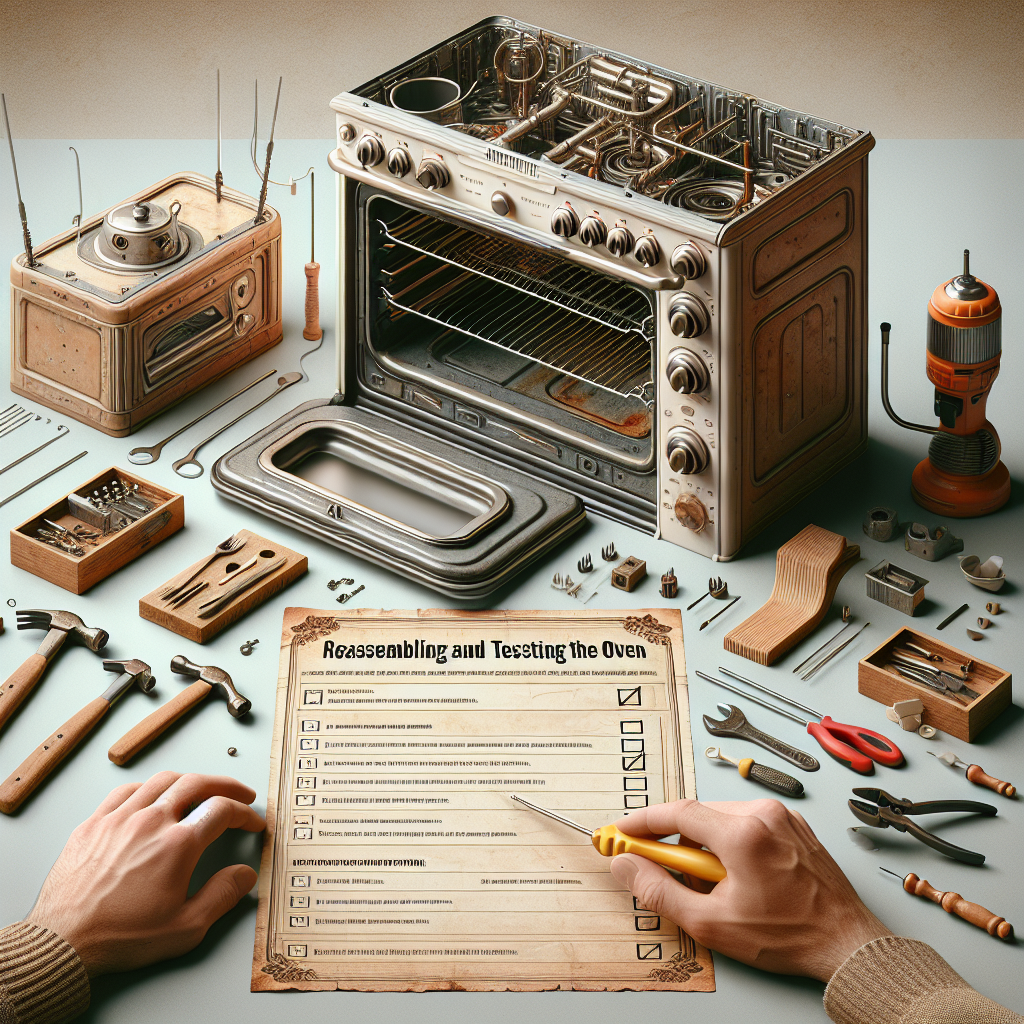
Once all the issues have been addressed, it’s time to reassemble the oven. Follow the disassembly process in reverse order. Make sure all parts are properly aligned and securely fastened.
After reassembly, test the oven to ensure it’s working properly. Check all functions and settings. If there are any issues, you might need to troubleshoot or seek professional help.
Maintaining Your Restored Oven
To keep your restored oven in good condition, regular maintenance is essential. This includes regular cleaning to prevent buildup of grease and grime. Check the oven periodically for wear and tear, especially the parts that were replaced.
Also, remember to use the oven properly according to the manufacturer’s instructions. This not only ensures its longevity but also prevents potential safety hazards.
Showcasing Your Restored Oven
Now that your old oven has been restored to its former glory, it’s time to show it off. A restored oven can be a great addition to a vintage-themed kitchen or a functional piece of history in your home.
The satisfaction of completing a restoration project is immeasurable. Not only have you added value to your home, but you’ve also preserved a piece of history, promoted sustainability, and saved money in the process. Your restored oven is a testament to your effort, skills, and love for vintage appliances.