Step 1: Gather Your Cleaning Supplies
Before embarking on your fridge cleaning mission, it’s crucial to have all your cleaning supplies within arm’s reach. This preparation phase will not only ensure a smooth cleaning process but will also save you time by eliminating the need to fetch tools mid-clean.
The essential cleaning supplies include baking soda, vinegar, and microfiber cloths. Baking soda is a gentle and effective cleaner that will help remove stubborn stains and unpleasant odors. Vinegar, on the other hand, is a fantastic natural disinfectant. Microfiber cloths are ideal for cleaning because they can easily pick up dirt and grime without scratching the surfaces.
Step 2: Unplug Your Fridge
The next step is to unplug your fridge. This is an important safety measure to protect you from any electrical shocks while cleaning. Additionally, unplugging the fridge will also help you save energy. It may seem insignificant, but the fridge will have to work harder to cool down if the door is continually being opened, leading to increased energy consumption.
Step 3: Remove All Items from Your Fridge
A thorough cleaning requires an empty fridge. Removing all items from your fridge will make the cleaning process easier and more effective, allowing you to reach all corners and crevices.
While removing items, it’s a good idea to sort them into perishable and non-perishable categories. This will help in better organization and easy re-stocking of the fridge post-cleaning.
Step 4: Dispose of Expired Food Items
As you remove items from your fridge, be sure to check the expiration dates. Any expired food items should be disposed of immediately. This not only frees up space but also eliminates the risk of foodborne illnesses.
To reduce food waste in the future, consider implementing a ‘first in, first out’ rule. This means using older items first before opening or buying new ones. Another tip is to keep a record of what you have in your fridge, so you know what needs to be used up before it expires.
Step 5: Remove Shelves and Drawers

After emptying your fridge, the next step is to remove the shelves and drawers. Doing so will provide you with ample space to clean and will ensure that no spot is left unattended.
However, handle with care. These components can be fragile and may break if handled roughly. Gently lift the shelves and drawers out of their tracks and set them aside for cleaning.
Step 6: Start Cleaning from the Top
It’s now time to start cleaning. A good strategy is to start from the top and work your way down. This method ensures that any debris or cleaning solution that drips down does not soil already cleaned areas.
Hard-to-reach areas can be challenging, but a toothbrush or a small cleaning brush can be your best friend here. They are excellent for scrubbing corners and crevices where dirt and grime may hide.
Step 7: Clean Shelves and Drawers Separately
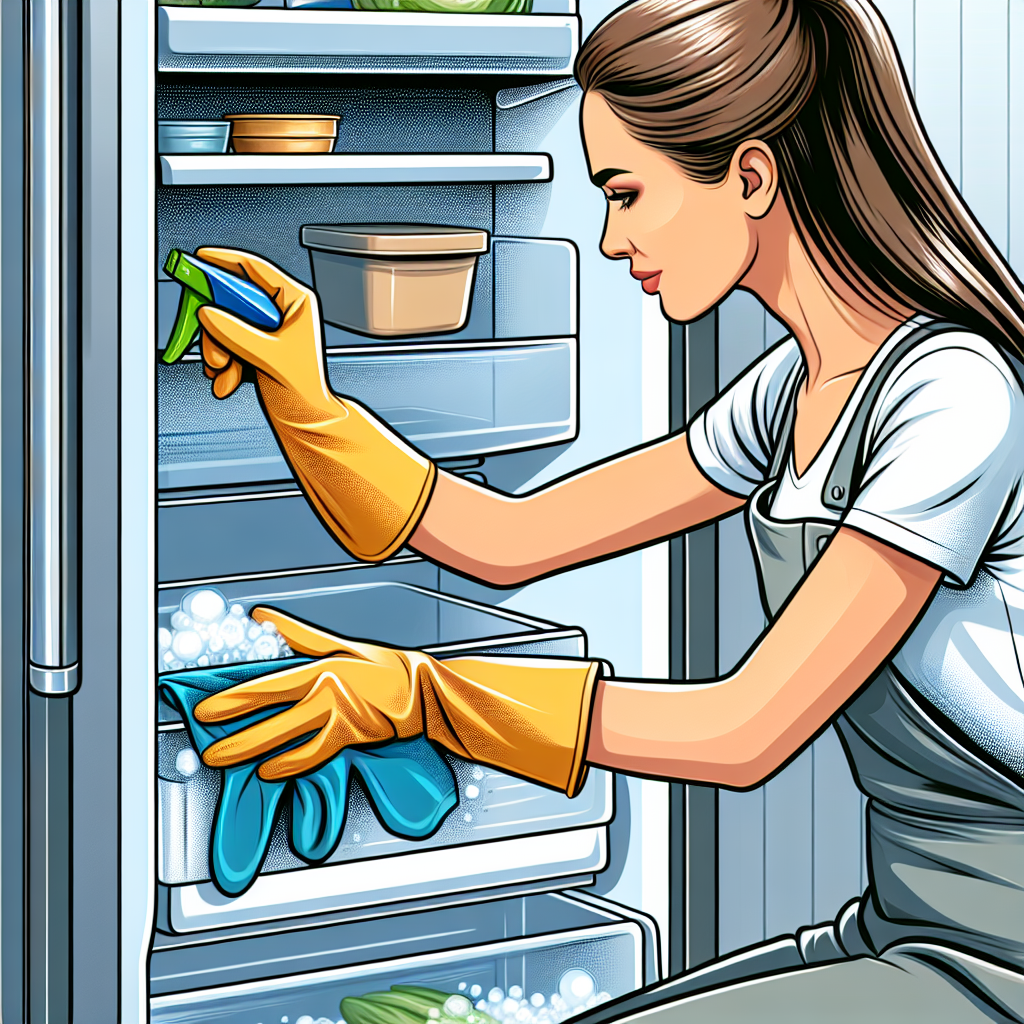
While you are cleaning the interior of the fridge, don’t forget about the shelves and drawers you set aside earlier. It’s essential to clean these components separately as they often hold hidden crumbs and spills.
Use warm soapy water for the initial clean and then follow up with a solution of vinegar and water to disinfect. If you encounter stubborn stains, a paste made from baking soda and water can be an effective solution.
Step 8: Dry All Components Before Reassembling
After cleaning, it’s important to make sure that all components are completely dry before reassembling. Any moisture left can create a conducive environment for mold and mildew to grow, which we want to avoid.
To dry these components, you can air dry them or wipe them down with a dry microfiber cloth. For those hard-to-reach areas, consider using a hairdryer on a cool setting to ensure they are completely dry.
Step 9: Reassemble Your Fridge
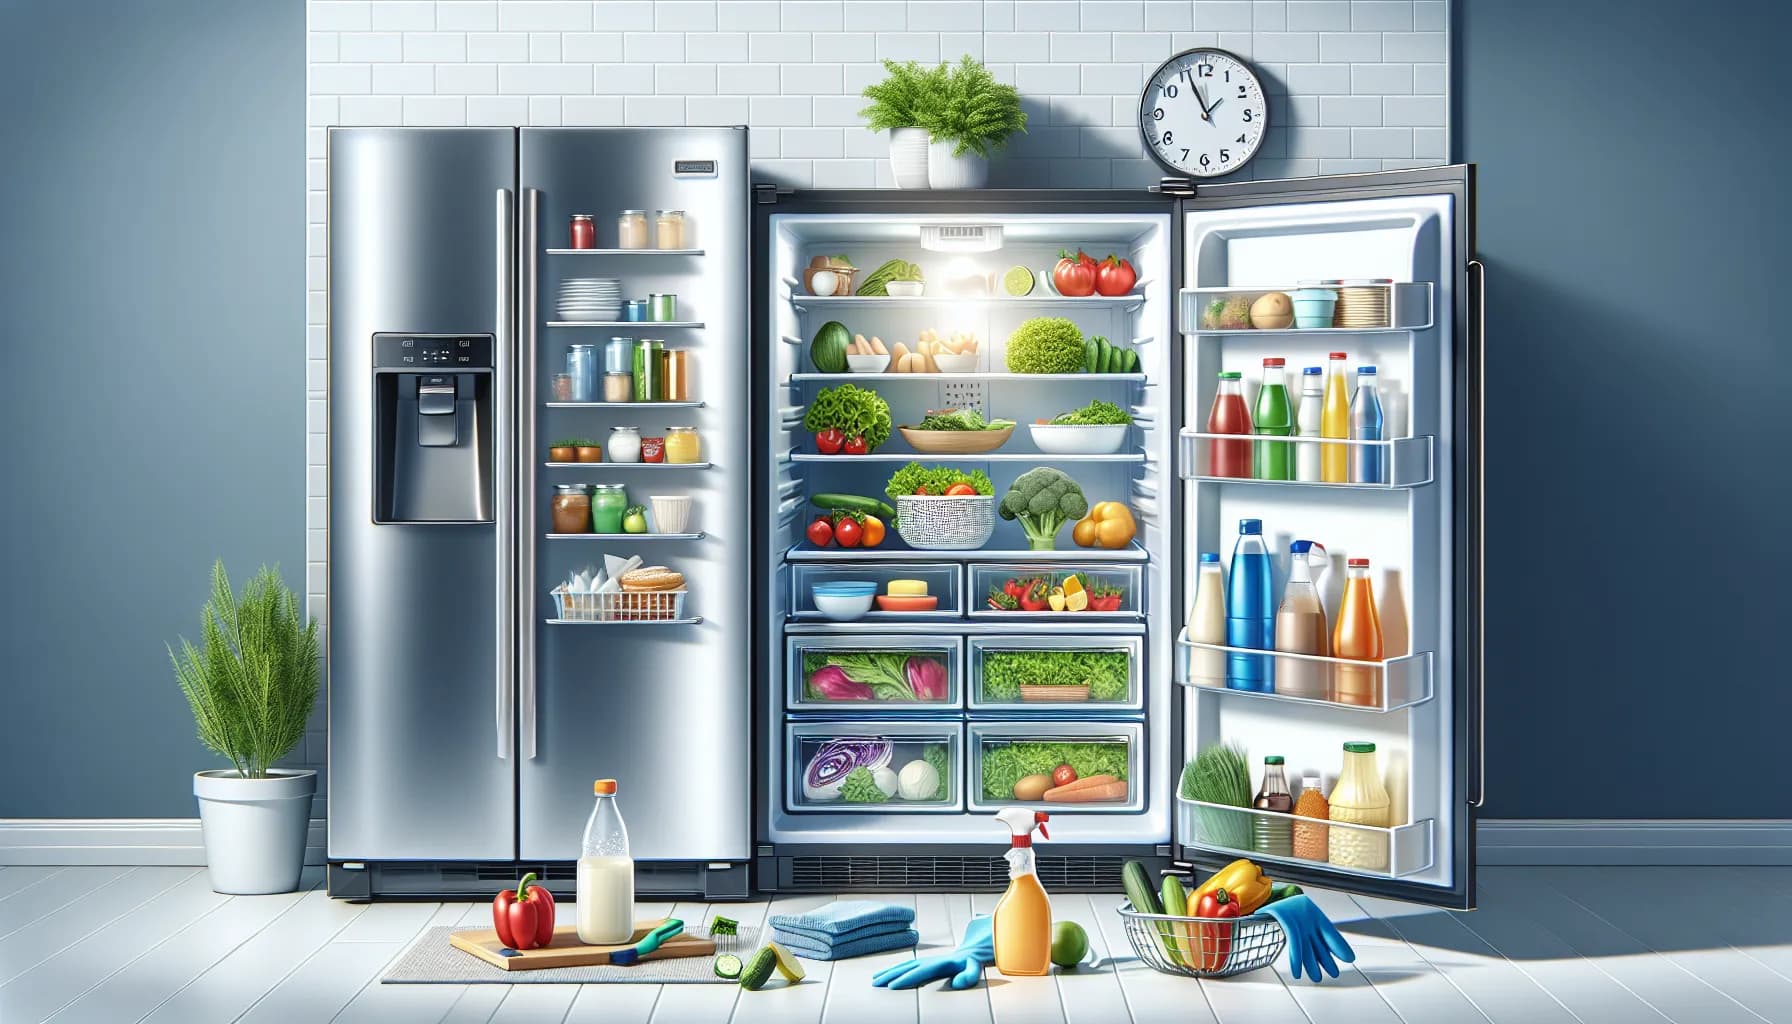
With everything clean and dry, it’s time to reassemble your fridge. Ensure all the components go back to their original place. If you’ve forgotten the arrangement, refer back to the picture you took at the beginning of the process.
As you restock your fridge, consider organizing your items for optimal storage. Keep the most commonly used items at eye level, store raw meat and fish at the bottom to avoid cross-contamination, and remember to keep fruits and vegetables in the crisper drawer.
Step 10: Plug Your Fridge Back In

The final step is to plug your fridge back in. It’s a simple yet crucial step as your fridge needs to return to its optimal temperature for food storage.
Once plugged in, check the fridge’s temperature settings. The ideal temperature for your fridge is between 1°C and 4°C. This ensures your food stays fresh longer and reduces the risk of bacteria growth.
And there you have it, a thoroughly cleaned fridge in just 10 steps! Happy Cleaning!

